A couple days ago I got an email from a friend expressing his interest in learning how to make preserves, and as an incentive he offered to share a large box of pears, which he had collected from his parent's house. I was happy for the opportunity to share my new found passion with a friend for the first time, so I invited him over.

He showed up with a beer box near full to the top with beautiful, fresh green pears. They were beautiful in all their irregularities. They were firm, smelled tart and earthy, and seemed perfect for preserving. Now I have to admit, I do not recall ever having had pear preserves before, but as pears are one of my favorite fruits, we could not possibly go wrong.
Pear Preserves:
6-8 medium pears.
2 1/2 cups water.
3 cups sugar.
1 lemon.

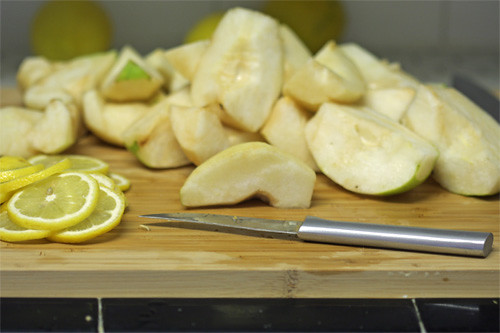
Start by washing and peeling the pears - be careful, they get pretty slippery. Now, quarter and core them. Place them in a large bowl and set aside. As thinly as possible slice a lemon into rounds and remove any seeds; set aside.
Next, pour all of the water and half of the sugar into a dutch oven. Stir to mix and bring to a boil over medium heat. After two minutes, add the pear chunks and return to a boil. Be sure to stir often, it can stick fast. After about 15-20 minutes, add the remaining sugar and the lemon slices. The pears should just be softening at this point. As the pears softened I slowly began to chop them using my handy bamboo stirring spatula.
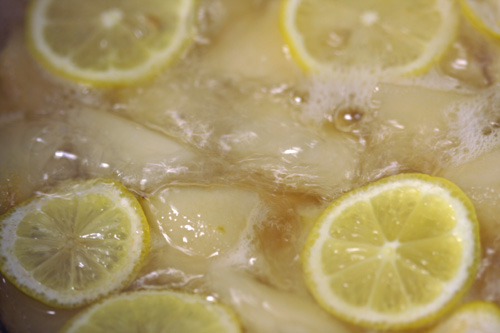
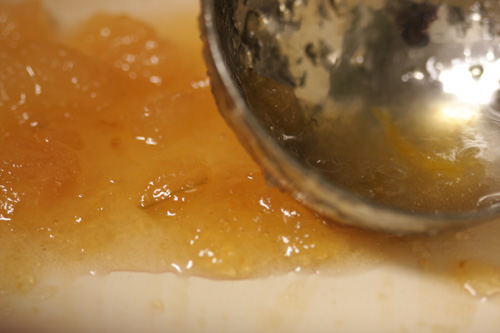
Return the mixture to boil, this time over medium-high heat. Cook rapidly, stirring often, for another 25 minutes or so. The pears should be soft and fairly translucent and the liquid syrupy. Remove from heat.
If it does not start to gel, you can return the batch to the stove for a hard re-boil. It should only take a few minutes more. This is not ideal but you can thicken your preserves this way.
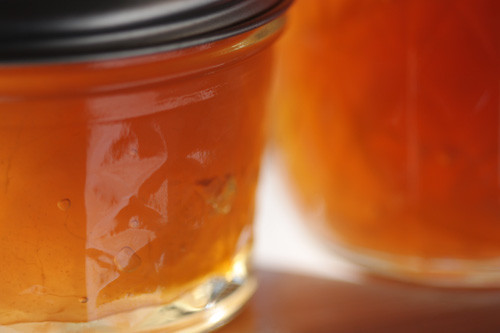
Ladle directly into hot, sterilized jars, leaving a quarter inch of headspace. Remove any air bubbles that might have formed and wipe the rims clean. Lid directly and process in a boiling water bath for ten minutes.
Over a two evening run we made about eight batches, filling about 24 eight ounces and 20 four ounce jars. It was quite the marathon.

We ended up with a substantial amount of variation. The first batch was the most like the preserves I had made previously - soft fruit chunks in a substantial gel. One batch we near completely neglected right at the end - the sugar caramelized into a deep brown gel with a very distinct flavor. The last batch, we went for a double and it never seemed to reduce correctly, ending more like a fruit-in-syrup than preserves. Overall the flavor was sweet and tart and I was reminded of sour apple flavored candies from when I was young, albeit more natural tasting.
These two nights were the busiest and most tiring trials in home preserving I have experienced so far, and I tell you what, I slept like a baby afterwards.
No comments:
Post a Comment